A batch workflow is useful when every photo needs the same destination format and output settings. It also gives you one place to check the selection before conversion begins.
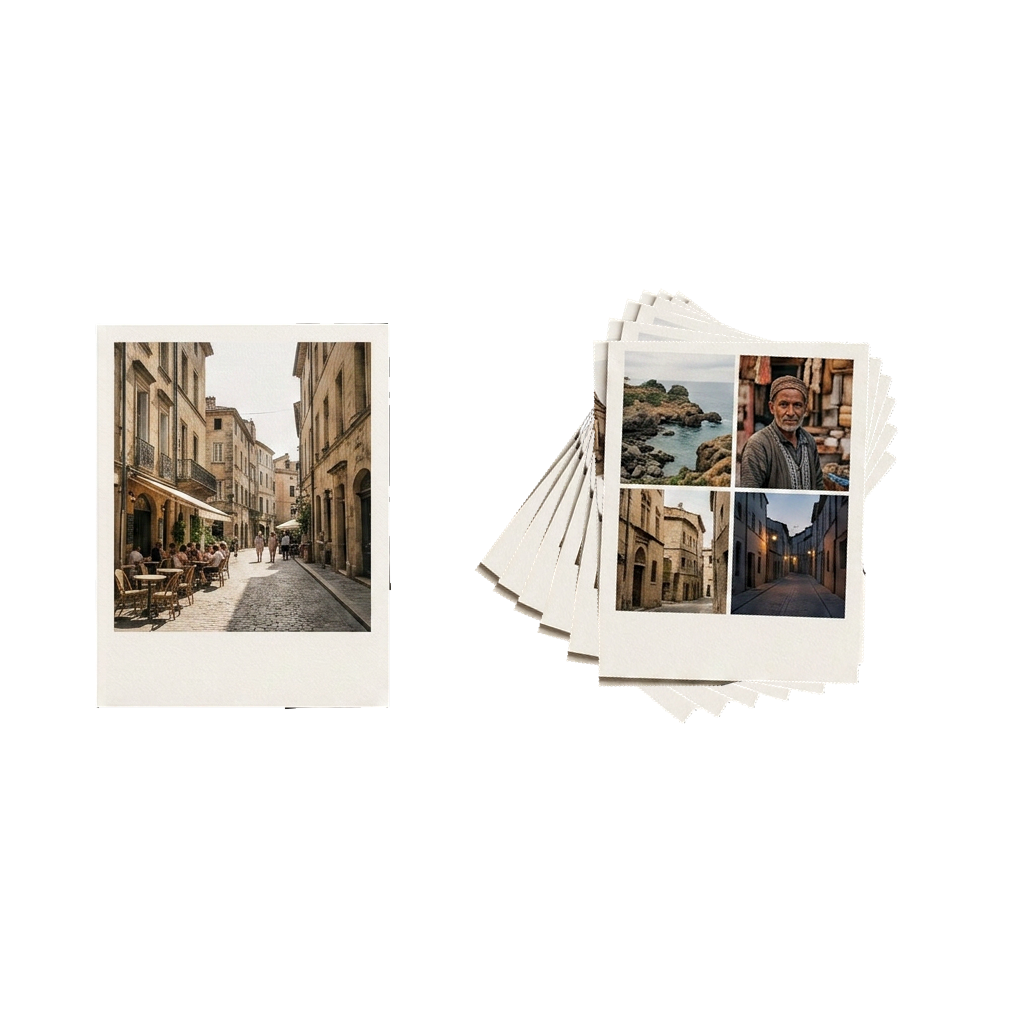
How do you select a batch without missing a photo?
Start from the place that already contains the source images. Import from Photos when the pictures are in your library, or use Files when they are organized in a folder or supplied by another app.
Review the selection before moving on. For a large set, it helps to keep related photos together and exclude screenshots or edited copies that should not receive the same output settings.
- Choose a single event, folder, or delivery set.
- Check the first and last selected images.
- Remove any image that needs different quality or resolution settings.
Do batch, bulk, and multiple conversion mean the same thing?
In this workflow, they describe the same outcome: convert multiple HEIC files to JPG with one shared setup. Whether you call it batch convert, bulk convert, or mass conversion, the important distinction is that the files are converted together instead of through repeated single-photo setups.
Keep separate batches when different groups need different quality, resolution, metadata, or save locations. That prevents one convenient bulk action from producing the wrong output for part of the set.
What should you check after the conversion?
Save the completed JPG files to Photos or Files, then open a few representative images. Check a detailed image, a portrait, and a photo from the end of the set. Confirm that the dimensions, visible quality, and destination match your choices.
Batch HEIC to JPG Converter keeps a conversion history, so you can return to the record of a completed batch. Reusable routines also help when the same output configuration is needed again.
Common questions
Can I batch convert HEIC to JPG directly on iPhone?
Yes. Batch HEIC to JPG Converter can select multiple HEIC images from Photos or Files, apply shared JPG settings, and process the batch on the iPhone.
Are all batch settings the same for every image?
A batch uses the quality, resolution, and location-metadata choices you configure for that group. Create a separate batch when some images need different settings.
Do I need to upload the photos before converting them?
No. The conversion itself happens on the device and does not require uploading the selected photos to a remote converter.
Where can I save a converted batch?
The JPG results can be saved to Photos or Files, depending on where you want to use or organize them.
Can I reuse the same batch settings later?
Yes. Reusable conversion routines let you keep a preferred configuration for future jobs.