The best conversion settings depend on where the JPG is going. Check the destination first, keep the HEIC source, and create a copy that meets the upload, sharing, or delivery requirement.
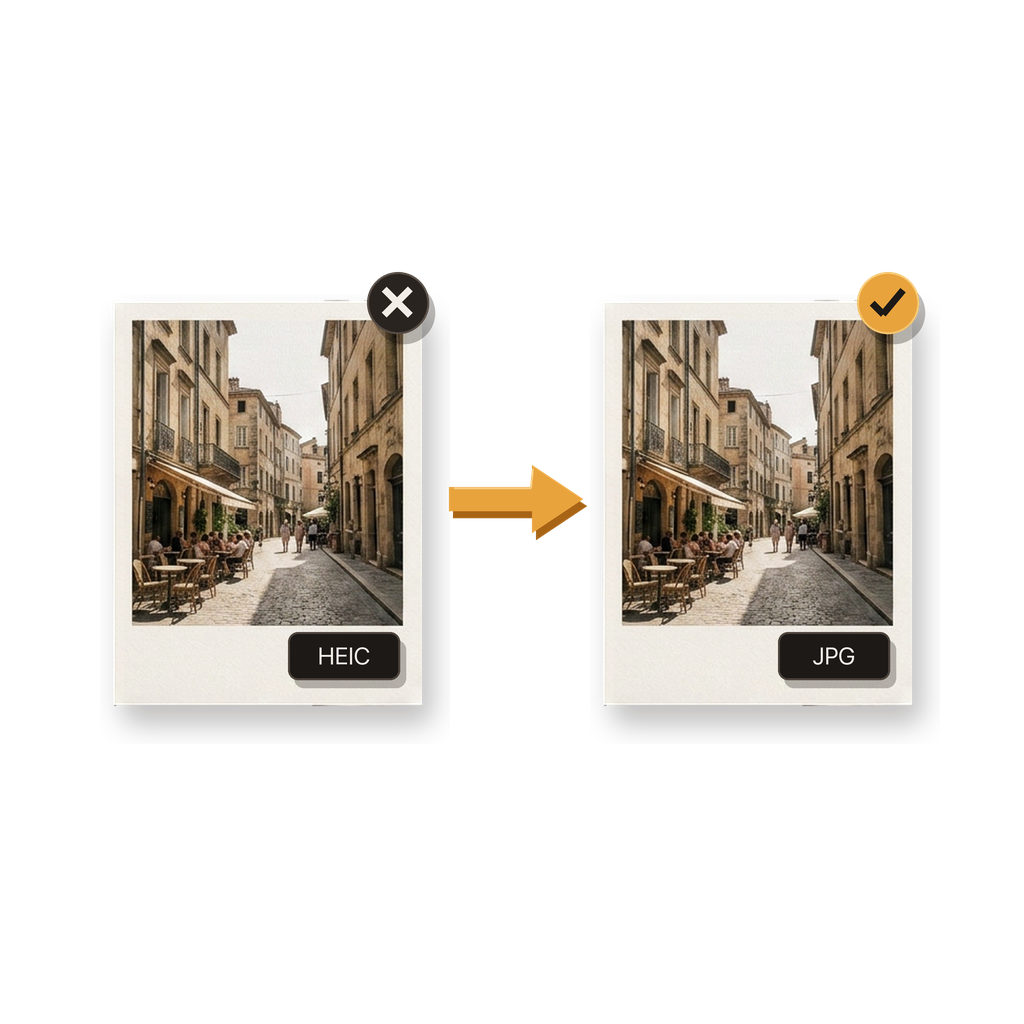
What should you check before converting the photo?
Find out what the destination accepts. A form may list JPG or JPEG, an email recipient may simply need a file that opens, and a print provider may specify pixel dimensions. Those requirements determine whether you should preserve the original resolution or make a smaller output.
Keep the source HEIC at least until the JPG has been accepted or delivered. Conversion creates a new output; it should not be treated as a reason to discard the only source copy before checking the result.
How do you choose a HEIC photo from Photos or Files?
Open the app and choose Photos when the image is in your photo library. Choose Files when it is stored in iCloud Drive, On My iPhone, Downloads, or another folder available through the Files picker.
Select one image for a single conversion. If several photos need the same output choices, select them together and use a batch instead of repeating the setup for each file.
Which JPG quality and resolution should you choose?
Quality controls how strongly the JPG is compressed. A higher setting generally preserves more visible detail and produces a larger file; a lower setting usually makes a smaller file with a greater chance of visible compression artifacts.
Resolution controls pixel dimensions. Keep the original resolution when maximum dimensions matter, or choose an adjusted resolution when the destination needs a smaller image. Quality and resolution are different controls, so lowering one does not have the same effect as lowering the other.
Should you keep or remove location metadata?
Keep location information when it is useful for your own library or an intended workflow. Remove it when the recipient does not need to know where the photo was taken. The choice applies to the JPG output you are creating.
Location is only one kind of photo metadata. Removing it does not promise that every possible metadata field or visible clue has been removed, so review the converted photo according to the sensitivity of the situation.
How do you save and verify the converted JPG?
Start the conversion, then save the result to Photos when you want it in your library or to Files when you need a folder-based upload or transfer. The conversion itself happens on the iPhone rather than requiring a photo upload to a remote converter.
Open the JPG from its saved destination. Check that it is the correct photo, looks acceptable at normal and enlarged viewing sizes, and has the dimensions required by the destination. For a batch, inspect representative images from the beginning, middle, and end.
- Confirm the saved file is the new JPG, not the HEIC source.
- Check visible detail and pixel dimensions.
- Keep the source until the destination accepts the JPG.
Source for iPhone format behavior: Apple Support: Using HEIF or HEVC media on Apple devices.
Common questions
Can I convert HEIC to JPG directly on my iPhone?
Yes. Batch HEIC to JPG Converter processes one HEIC photo or a batch on the iPhone and saves JPG results to Photos or Files.
Do I need to upload the photo to convert it?
No. The conversion itself takes place on the device, so the selected photo does not need to be uploaded to a remote conversion service.
Does converting create a separate JPG?
Yes. The workflow creates a JPG result. Keep the original HEIC until you have checked and delivered the converted copy.
Can I convert several HEIC photos together?
Yes. Select multiple photos, apply shared quality, resolution, and location-metadata settings, then process them as one batch.
Where can I save the JPG?
Save the converted JPG to Photos for a library-based workflow or to Files for folders, uploads, and transfers.
Is JPG the same as JPEG?
Yes in normal use. JPG is the shortened filename extension for the JPEG image format.