A rejected file usually means the destination does not support the format it received. Converting a copy solves the compatibility problem without requiring you to change how every future iPhone photo is captured.
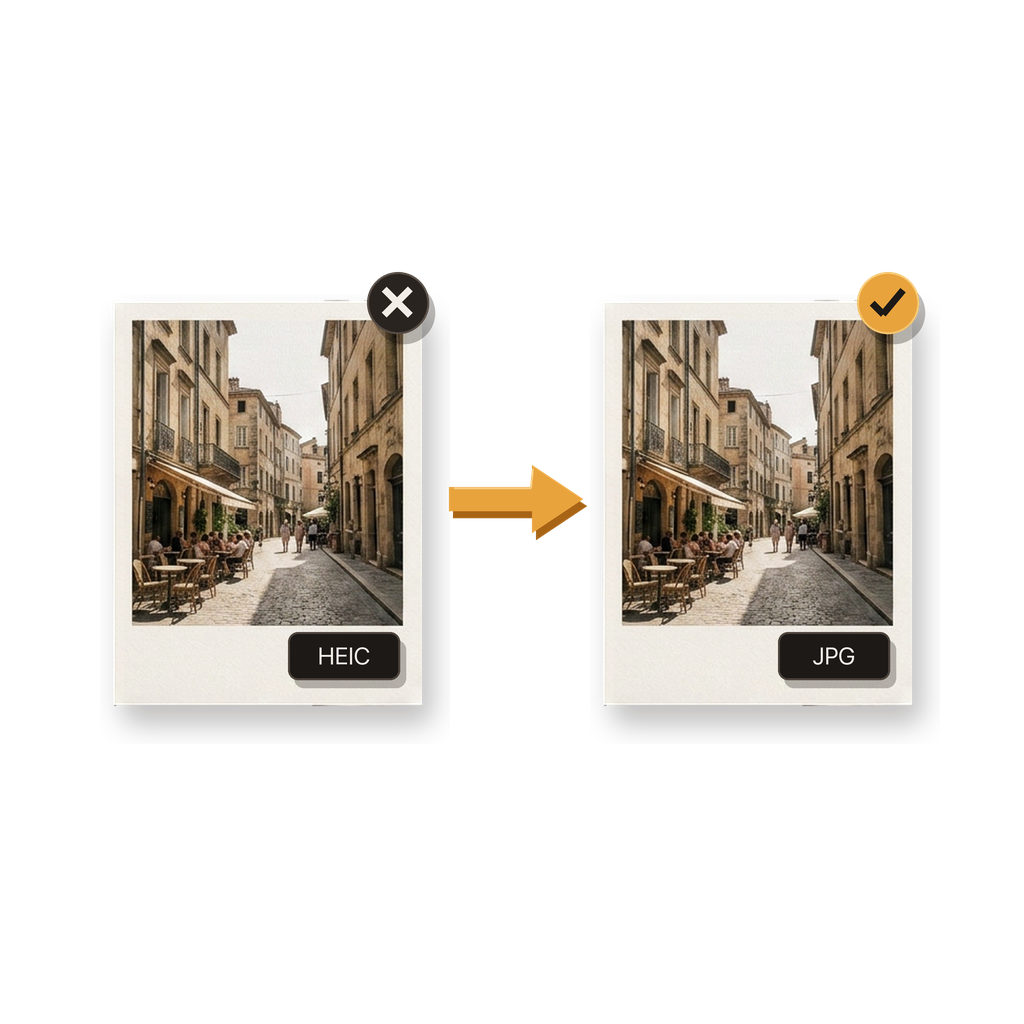
How do you confirm that HEIC is the problem?
Read the upload instructions and any error message before changing the photo. If the accepted-format list includes JPG or JPEG but not HEIC or HEIF, the file format is the likely mismatch.
A format rejection is different from a file-size or dimension limit. Converting to JPG addresses compatibility, while the quality and resolution controls can help you prepare an output that better fits a destination with separate size requirements.
How should you create the JPG copy?
Choose the source image from Photos or Files in Batch HEIC to JPG Converter. Set the JPG quality, keep the original resolution when full dimensions matter, or choose an adjusted resolution when the upload does not need the full-size image.
The conversion runs on the iPhone and does not require sending the photo to a remote converter. Save the result somewhere that will be easy to recognize when the website opens its file picker.
Should location information stay in the upload?
Decide whether the destination needs the photo’s location information. A personal archive may benefit from keeping it, while a public form, marketplace listing, or support attachment may not need it.
The app lets you keep or remove location metadata from the JPG output. This choice applies to the converted copy; it does not alter the original HEIC photo.
What should you check before submitting the form?
Open the saved JPG once and confirm that it looks correct. Then return to the website, choose the JPG rather than the original HEIC, and check that the filename or preview shown by the form matches the new output.
If the website still rejects the JPG, review its file-size, pixel-dimension, and naming requirements. Those are separate constraints from image format and may require a different resolution or quality choice.
- Confirm that the selected file ends in .jpg or .jpeg.
- Check the visible preview before submission.
- Keep the source HEIC until the upload is accepted.
Common questions
Why does a website reject an iPhone photo?
Many iPhones capture photos as HEIC, while some upload forms accept only formats such as JPG or JPEG. The error can also come from a separate file-size or dimension limit, so check the form requirements.
Do I need to change my iPhone Camera settings?
No. You can keep the current Camera setting and create a JPG copy only when a destination requires one. Changing Camera settings affects future captures, not existing photos.
Will converting delete my original HEIC photo?
No. Conversion creates a JPG result. The original remains in its source location unless you remove it separately.
Can I make the JPG smaller for an upload form?
You can choose JPG quality and an original or adjusted resolution. The website’s exact file-size limit still determines which output settings are appropriate.
Are photos uploaded to the converter?
No upload is required for conversion. The HEIC-to-JPG processing happens on the iPhone.